
Composting 101
Composting on the surface seems easy enough. Put all your food scraps in a bucket, dump them in a pile and magic happens. The earth revolves around the sun and all of a sudden you have black gold; micro nutrients for your plants and organic matter for the soil rolled into one.
But not so fast… If you have ever composted by hand you know turning can be a pain. Plus it can get maggots and smell terrible. But it doesn’t have to be that way. If your compost smells bad, I hate to be the one to have to tell you this, but your doing it wrong.
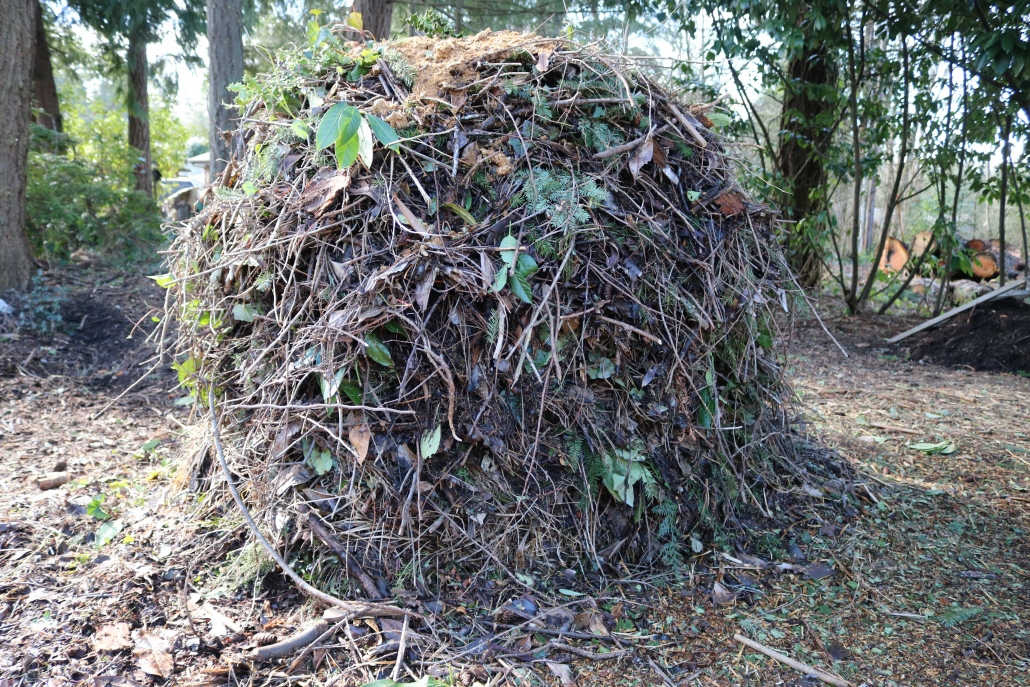
We have a fairly large composting area for our small farm. Well large, relative to our actual farm size which is only half an acre. Composting is a big part of what we do and it very rarely smells bad. The compost piles are actually small and look pretty nice, as well as double as great habitat for wildlife. We have found lots of frogs and salamanders and oddly enough sometimes the deer munch on branches in the pile.
There are a few good tricks that make this all work, I’ll outline them below in more detail. In short – it’s the carbon and nitrogen ratio, enough air and moisture management.
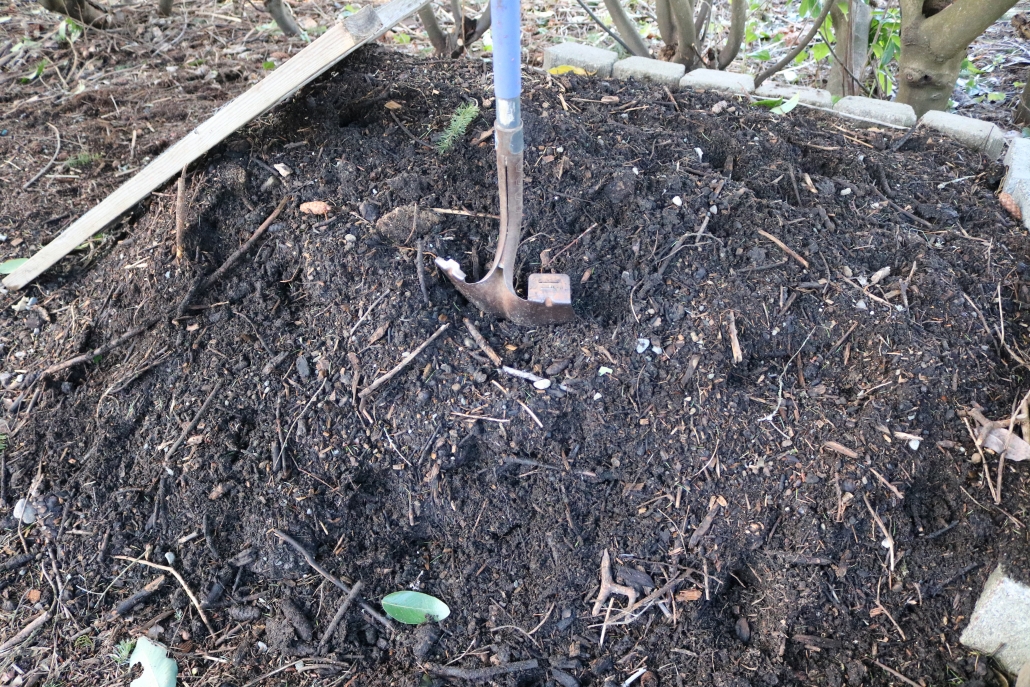
Finished Compost
Understanding the Bigger Picture- The bigger picture is well, actually the smaller picture. The “warm” heat from the compost comes from the microbial life that accelerates the decomposition of carbonaceous and nitrogenous materials. It is actually millions of tiny little creatures; like tiny spider centipedes, along with a cacophony of little things, most that don’t even have names yet.
Pre-sort for easy sifting – If your composting by hand and without a large mechanical sifter, I recommend pre-sorting and chipping anything over 1/4 inch to 1/2 an inch in diameter. I just use a small Troy built chipper and it works great to chip small branches and thick brush for composting.
Passive Aeration For Less Turning- In order for all those little creatures, fungus and bacteria to create heat and work together to accelerate decomposition – they need air and lots of it. This is often times produced in the form of turning. With passive aeration you can eliminate turning. This is especially important if your not using a tractor. Start by breaking up all the ground below your compost pile; like you would if you were going to plant a garden. This will help quite a bit.
What I did was dig trenches underneath where I intended to put the compost pile and installed 4 inch perforated (with holes, not solid) corrugated plastic pipe every few feet. Then covered them with Arborist chips. It works great and the whole pile heats right up when the weather is warm enough.
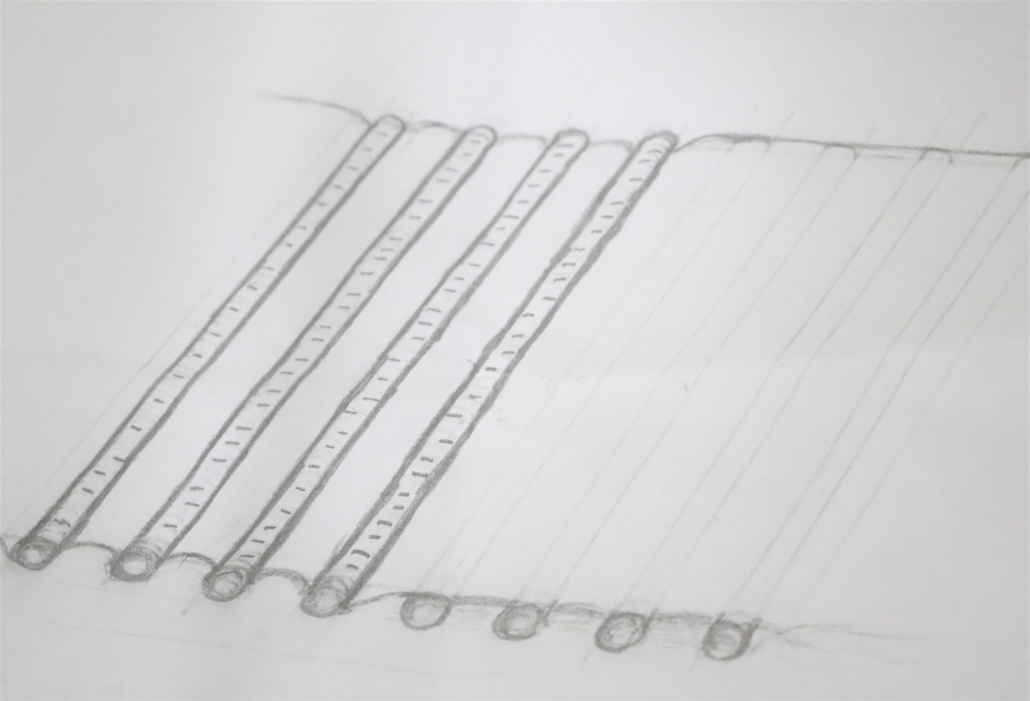 Passive Aeration Pipes
Carbon and Nitrogen Balance- Really, truly, I mean this in the nicest way possible, but if your compost pile smells bad your composting wrong. Generally bad smells are a sign of anaerobic bacteria which you don’t want. An easy way to think of this is grass vs wood chips. If you bag your lawn and leave the piles in the summer it will get rancid fast. Now think of a sorted wood chip pile, it won’t really do much but slowly rot. An arborist wood chip pile on the other hand with a lot of ramial, or small sized wood chips that also contain the branches and leaves, will heat right up and smell nice.
To help manage smell, mix in wood chips, or dry-ish leaves, with your grass clippings, food waste and other things that tend to smell. I could give you a special formula but the general rule is if it smells just add carbon, like wood chips. If it’s warm enough, typically over 50 degrees all day, and your pile is not heating up, add more nitrogenous material, like grass clippings or other fresh green debris.
Moisture Management- Great composting begins with water. Water the ground before you build the pile and water each time you add a 6 inch layer. This is incredibly important. You don’t want any dry pockets, as they won’t really break down much. You want to saturate it to field capacity, meaning when you pick up a handful and squeeze it, it sticks together, but when you squeeze it, no water or only a few small drops of water come out. The whole pile should be consistently moist.
After you build the pile it’s important to keep it watered and not to let it dry out. All those little creatures need water to drink, just like you and me, and when they really get going and get the pile temps up, they can drink a lot. So water that pile.
Internal Temperature Requirements-The FDA ‘s current recommendation are: An aerated static pile reaching 131 degrees Fahrenheit for three consecutive days, or a turned compost pile reaching 131 F for 15 days, not necessarily consecutive, which must be turned at least five times to ensure processing to completion.
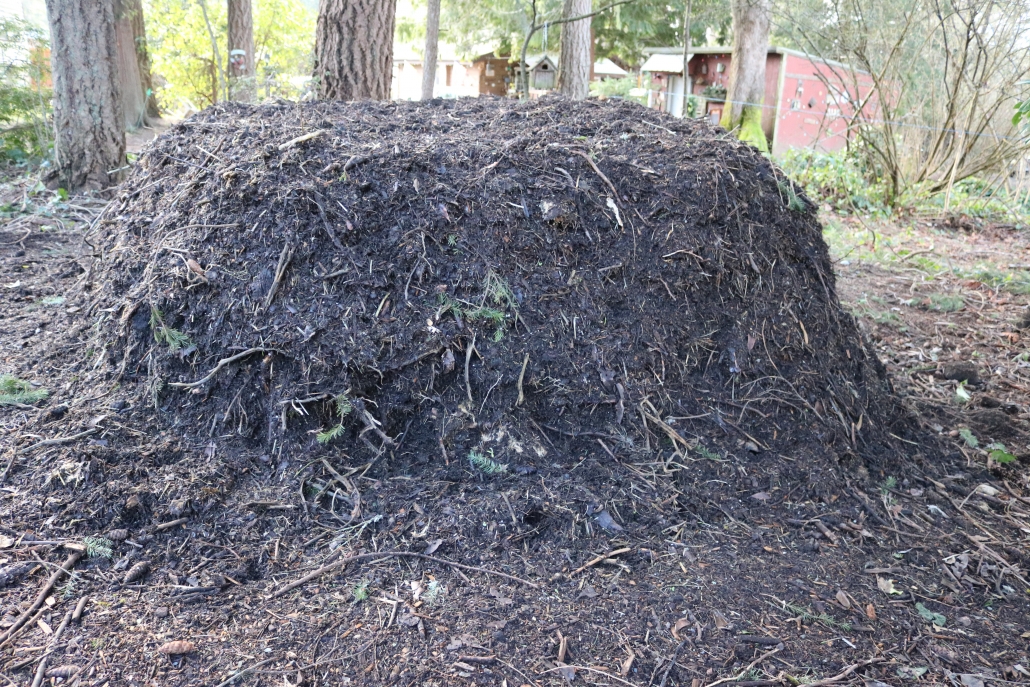
Finished Compost Pile
Size Matters- You want your pile to be at least 3x3x3. That’s 3 feet wide on all sides and 3 feet tall. It is helpful to keep a rake handy and rake the top to the sides as you pile it up. This will help to keep the pile wide enough and keep it from forming a pyramid shape. The shape isn’t really the important part. It can just be hard to get a 3x3x3 pile without raking the top out flat. Like pictured above. A flat top also serves as a catchment for rain water so it doesn’t have to be watered as frequently.
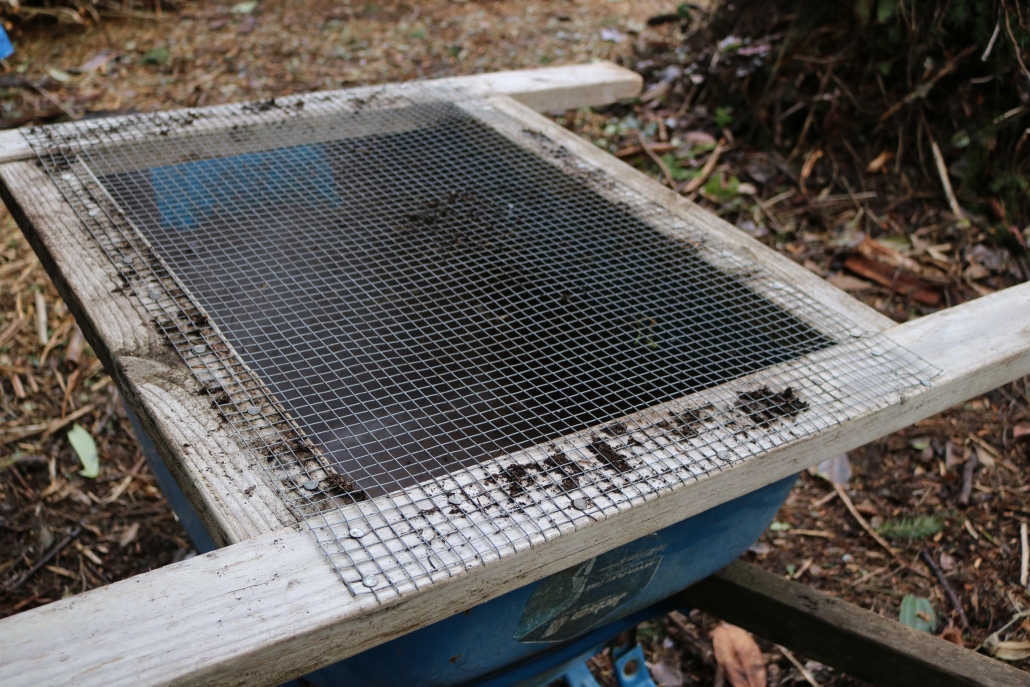
Sifting – If you plan on using your compost in the garden, if you pre-sorted it to 1/4 inch and chipped the rest it should work great the way it is. If you want to use it in a potting soil, you’ll want to sift it. 1/4 Inch hardware cloth nailed to a two-by four frame that fits onto a wheel barrow works great for sifting compost by hand. Pictured Below.
DIY Sifter Sized for a Wheel Barrow


